Black and white photography made easy – Part 2
- WildWillowWays

- Nov 2, 2020
- 4 min read
How do we create the best possible black and white version of our image?
In part 1 of this article I looked at some of the considerations involved in deciding which photographs would look better in black and white than colour. Variables such as the amount of contrast between the darks and lights, the variety of grey tones, whether it has strong shapes and textures and whether black and white or colour suits the composition best are all things to consider.

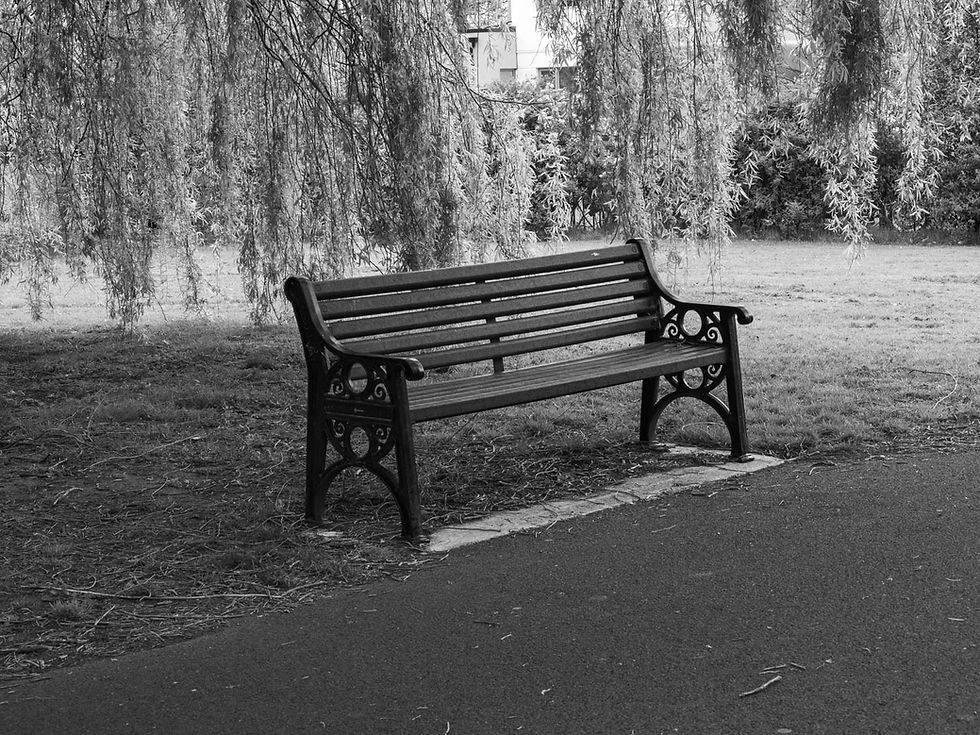
Although the foreground is out of focus, I think there is enough strong contrast to make this image look good in black and white
Once we have chosen an image that we think would look better in black and white, the next consideration is to ask, how do we do that? There are a few options available to us, but it is important to note that good black and white images are not just colour photos with the saturation turned down. Good black and white images require some thought and creative work in post processing.
When looking for potential black and white images it is helpful, when out shooting, to try and see in black and white, to imagine what the scene will look like in black and white, to think about whether it will have enough contrast, whether it has strong lines, patterns or shapes, whether there is texture in the scene to work with. One suggestion often made is to use the monochrome option on the camera and to shoot in raw + JPEG. This will give us the opportunity to check the image on the screen as we shoot to see how it appears in black and white. This option will also give us the information provided by the raw file for editing in black and white as well as having the colour image if that is our preference for the image.
Editing our images
When we look at the black and white images of the photography masters we become aware that the use of right framing and precise timing of the shot ensured that they got the image right in-camera rather than relying on post processing. Today, most of us shoot in colour and convert our images to black and white later. This involves a careful consideration of the image to see if it suitable for black and white conversion. Simply converting a colour image to greyscale or pulling down the saturation slider will most likely produce a dull, flat result. It may be that the image did not contain enough contrasting colours to begin with, but even if the image has good contrast it will still benefit from being edited specifically for black and white.


Images can be converted from colour to black and white in different ways
So, what does edit for black and white involve?
The first thing I usually do is check the white balance on the colour image, do a small amount of editing in the basic panel such as adjusting the contrast and the dark and light sliders. I might then go to the tone curve, which deepens shadows and brightens the lighter parts of the image, thereby straightaway adding a little more contrast. It is important not to overdo the contrast and a good rule of thumb is to realise that if the image is a good one to begin with it will need only slight processing in order to be a good black and white photo. What we need to have is a wide range of greys and to work on tonal separation in our editing work. Tones can get lost very easily when working in black and white so tonal separation is important. This can be achieved to a good extent using the HSL panel.
Below is a simple editing process I used to convert a number of colour images to black and white, with some variations to suit the particular image and the effect I wanted to achieve.

The editing process from colour image - Sample 1
White Balance - adjusted as necessary to achieve correct white balance
Basic Panel - raised contrast slightly
Tone curve – brightened lights, deepened shadows to create more contrast (creates S curve)
HSL panel:
Saturation - lowered each slider to reduce saturation
Luminance - adjusted each relevant colour
The editing process from colour image - Sample 2

I used a similar process, starting with the colour image and reducing the saturation of each colour in the HSL panel. I then cropped the image to incorporate the rule of thirds in the composition

The editing process using black and white filter
To edit this image I started by selecting
Black and White tab under Treatment
Tone Curves - I brought up the lights and decreased the darks
Black and White Mix Panel - adjusted sliders to right or left to see how each colour would convert to black and white, for example, pulling the blue slider will control how dark the cloud will be (see examples below)
Being able to change how individual colours convert into grayscale tones gives greater control over our black and white conversion and can improve the impact of our final image.
Basic Panel - returned to basic panel and adjusted exposure, contrast, highlights and shadows, trying to avoid areas that are very dark or blown-out highlights. In this case detail in the dark area of the ship was not required.


In the image below I made the adjustments as above for colour photo and added post crop vignette

___________________________________________________________________________________________
This post is one of a series of posts on black and white editing. In my next post I will take a look at split toning, which is a simple way of being creative with our images. Link to part 1 below
Further reading
For a more professional article on black and white editing check out: https://www.shutterstock.com/blog/editing-black-white-photos


I have came into this amazing website called https://wezoree.com/; couples might find it helpful when they are planning their wedding. Just two of the many wedding-related services the website offers are flowers and photographers. Whether you are organizing a little get-together or a big celebration, the simple design will ensure that everything you need is just within reach. The complete partner profiles and evaluations are widely valued as they support informed decisions. Engaged couples seeking trustworthy wedding planners or inspiration might find Wezoree to be a great resource.