


Improve Your Woodland Photography With These 3 Tips
- WildWillowWays

- Dec 1, 2024
- 3 min read
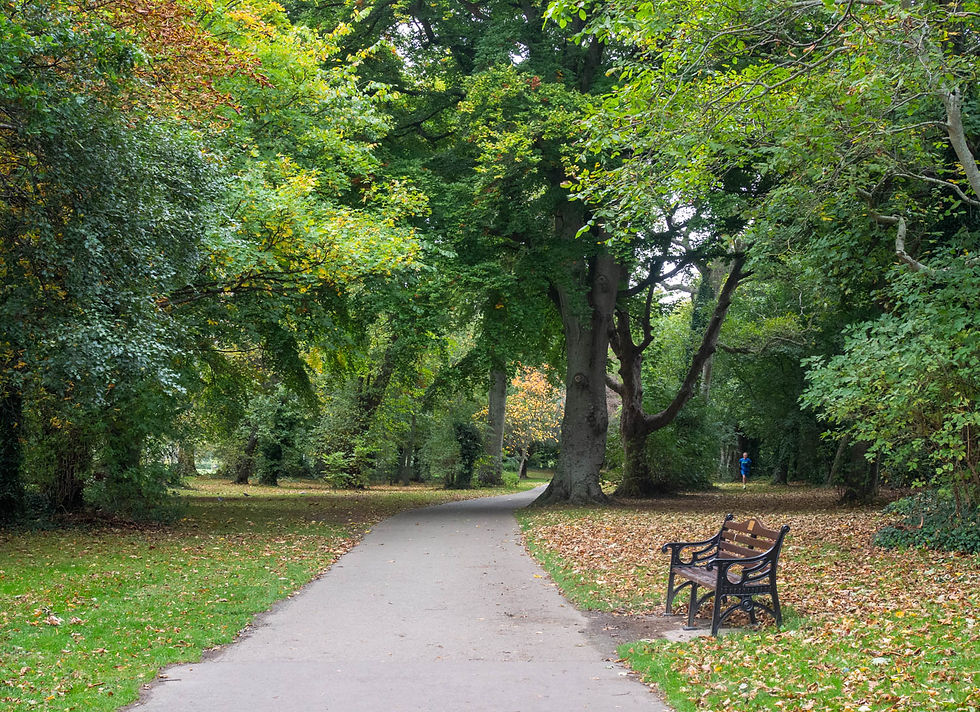
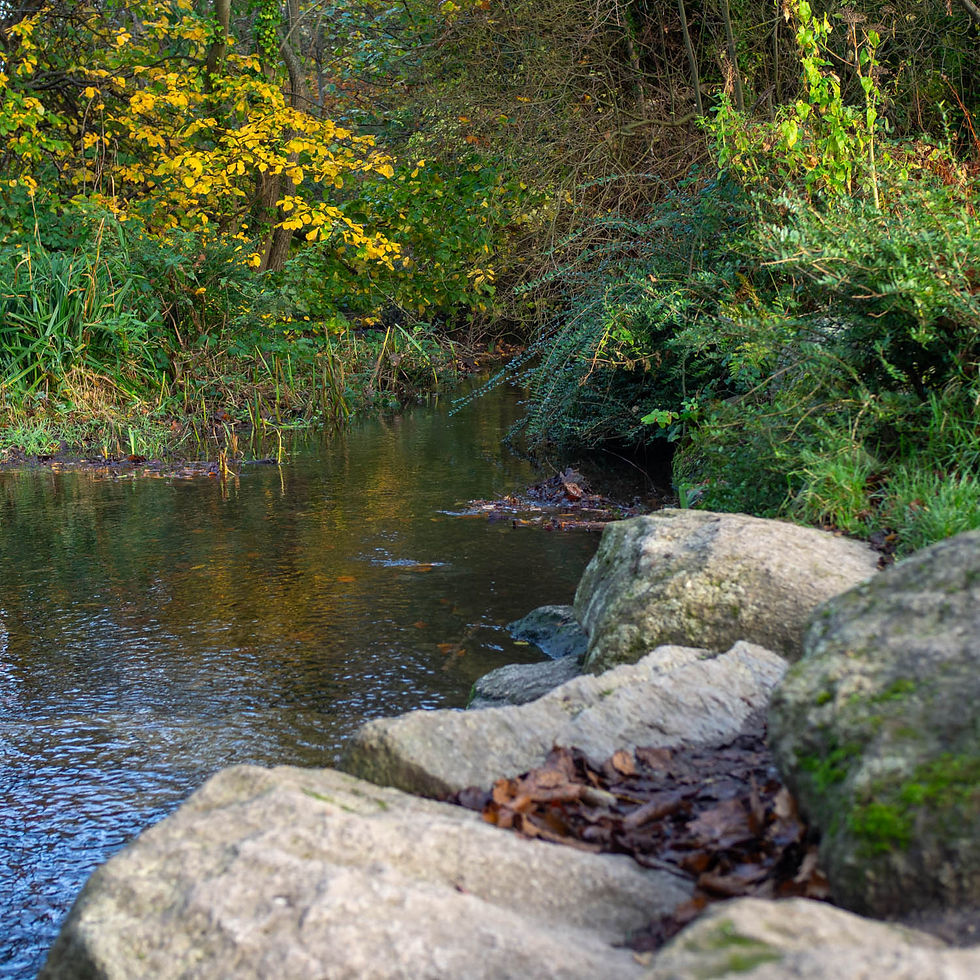
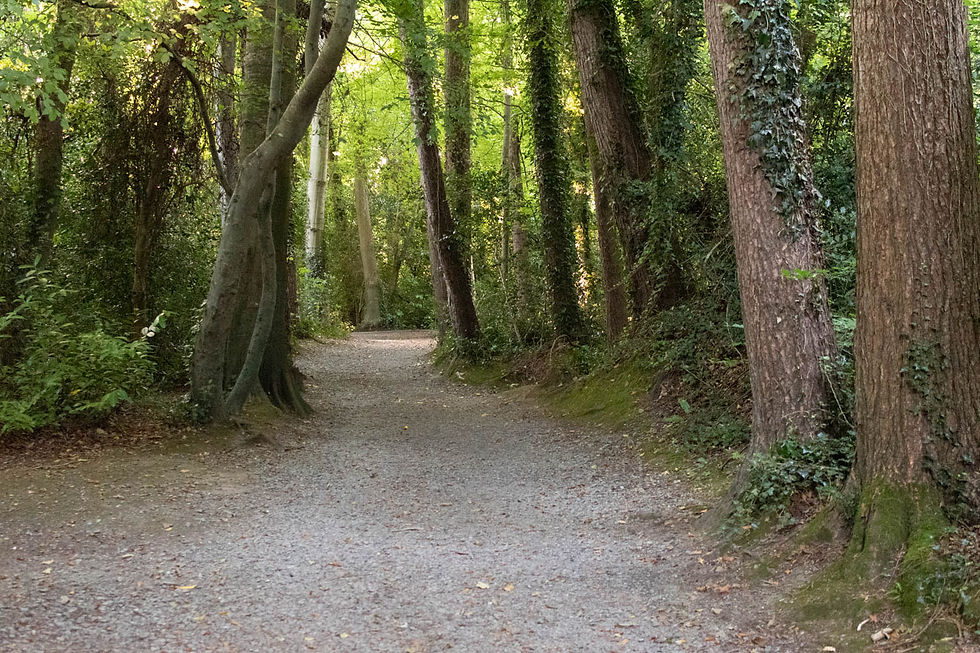
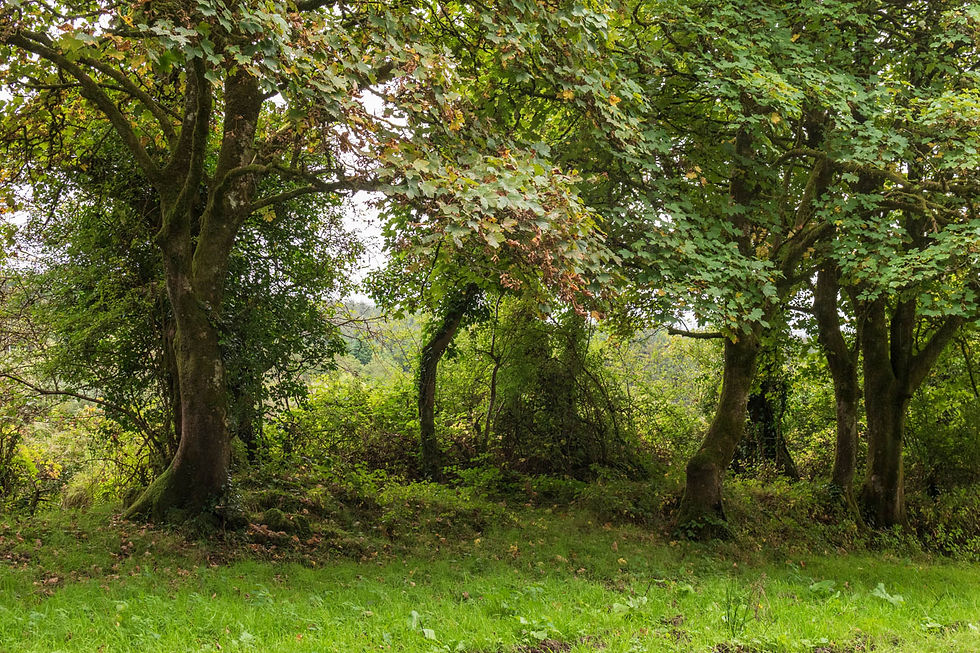
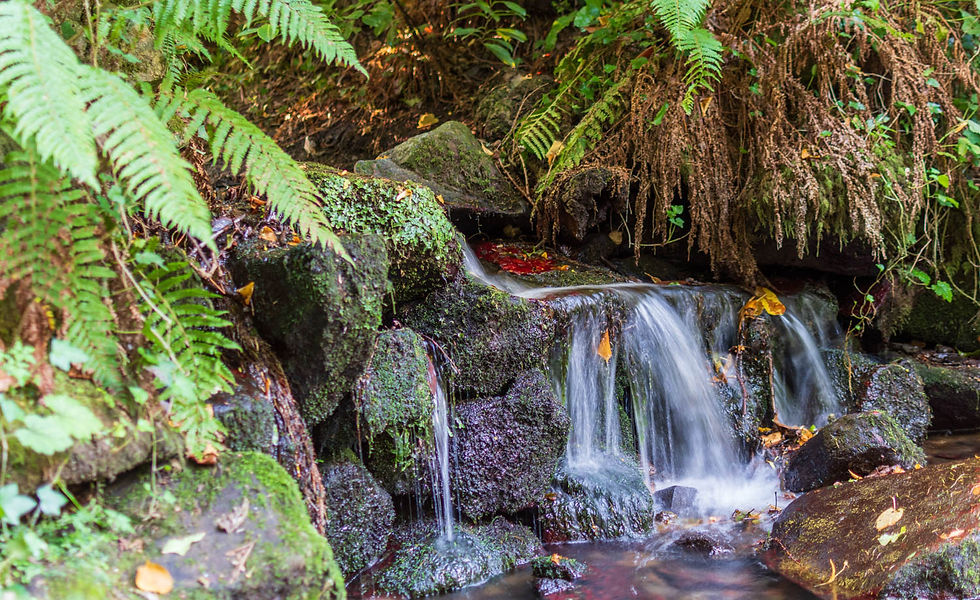
I am fortunate to live close to a large suburban parkland consisting of a mature woodland which is fed by a local river. The woodland is home to many large, mature native trees as well as smaller groves. It has many of the landscape features common to an 18th century park, including a large boundary wall, a well-maintained walled garden, ornate entrance gates and pillars, bridges, ponds, and waterfalls. The many features mean it provides a haven and a home to many species of plants and wildlife, both on land and on water.
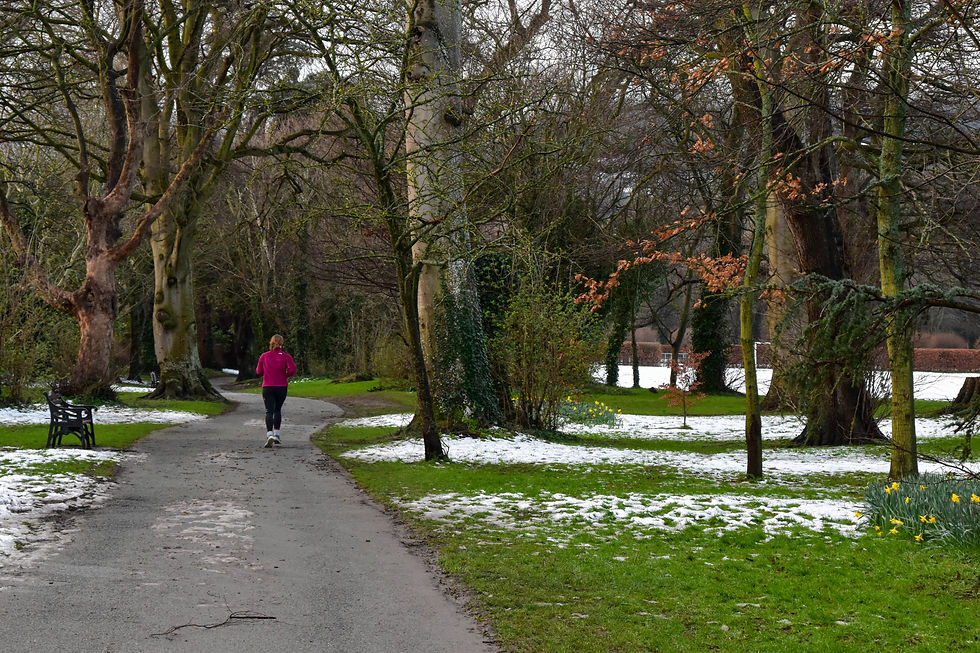
The parkland provides numerous opportunities for landscape and nature photography as well as for doing abstract photography and even candid photography at its busy weekend market.
I am a frequent visitor to this park and woodland and I never fail to find new photographic opportunities.
While I am aware that there are many websites and YouTube videos giving great tips for woodland photography, in this post I want to offer my top 3 tips for improving your woodland photography borne out of my own experience, having spent many hours here, doing all types of photography.
I hope you find them helpful.
# 1. Visit often
Woodlands are busy places with an abundance of opportunities to offer the photographer. If you want to get some worthwhile images you will need to visit often and get to know the woodland well.
Look at it from every angle - high up, low down and everything in between.
Get to know the tree characters.
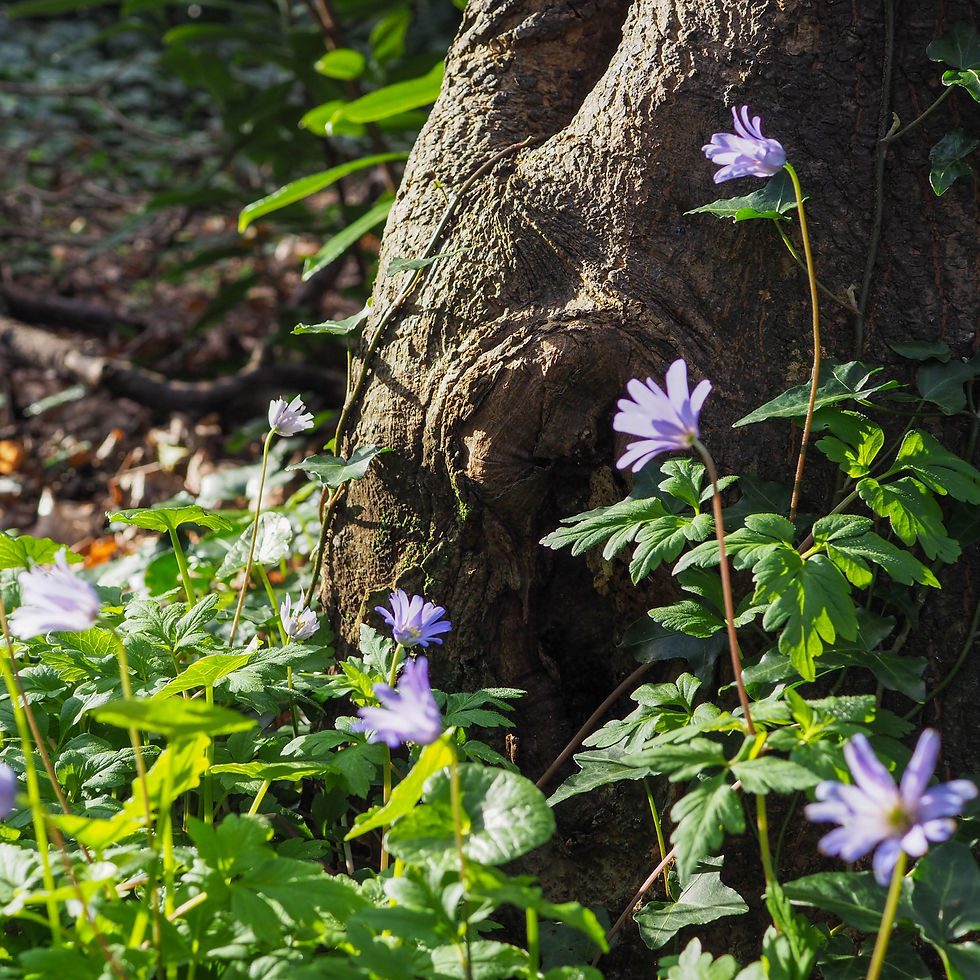
Examine the woodland floor for an ‘intimate landscape’ experience.
Go there at different times of day for changing light and a different perspective.
Become familiar with the seasonal changes and where they are most evident.
Try to notice something different each time you visit.
#2. Have your settings on ‘speed dial’ in your mind.
Woodlands have huge potential for photography due to the number of features they contain. It is possible to discover something different around every corner. This often necessitates a quick change of camera settings to ensure a well exposed, sharp photo.
In one area you will need a medium aperture, such as f/9 – f/11, to capture an image that is as sharp as possible throughout, while at another time you will want a wide aperture to add some bokeh. You might then encounter a waterfall where you need a slow shutter speed to get a milky effect, or to smooth out the water on a pond or gurgling stream.
It's vital to be able to choose your shutter speed and aperture at a moment’s notice or you risk missing the shot. Whether you work in manual mode, aperture priority or shutter priority, a good working knowledge of how your camera works and the ability to choose settings quickly will make your woodland photography more successful and enjoyable.
#3. Use a wrist strap
Most of us carry our camera on a strap around our neck. It seems to be more natural, safer, and easier to carry that way.
However, for woodland photography I would suggest that you ditch the neck strap and carry your camera on a wrist strap. This gives you more flexibility and freedom and it becomes much easier to take pictures from different perspectives, such as getting down low, rather than always shooting from standing height. As a result, you get more interesting, unique images as well as increasing the number of potential images you find.
Since I found this advice on a photography blog I have tried it out many times.
It really works and has now become my favourite way to carry my camera.
I hope these tips will add to what you already know about woodland photography and help you improve the images you make in these amazing locations.
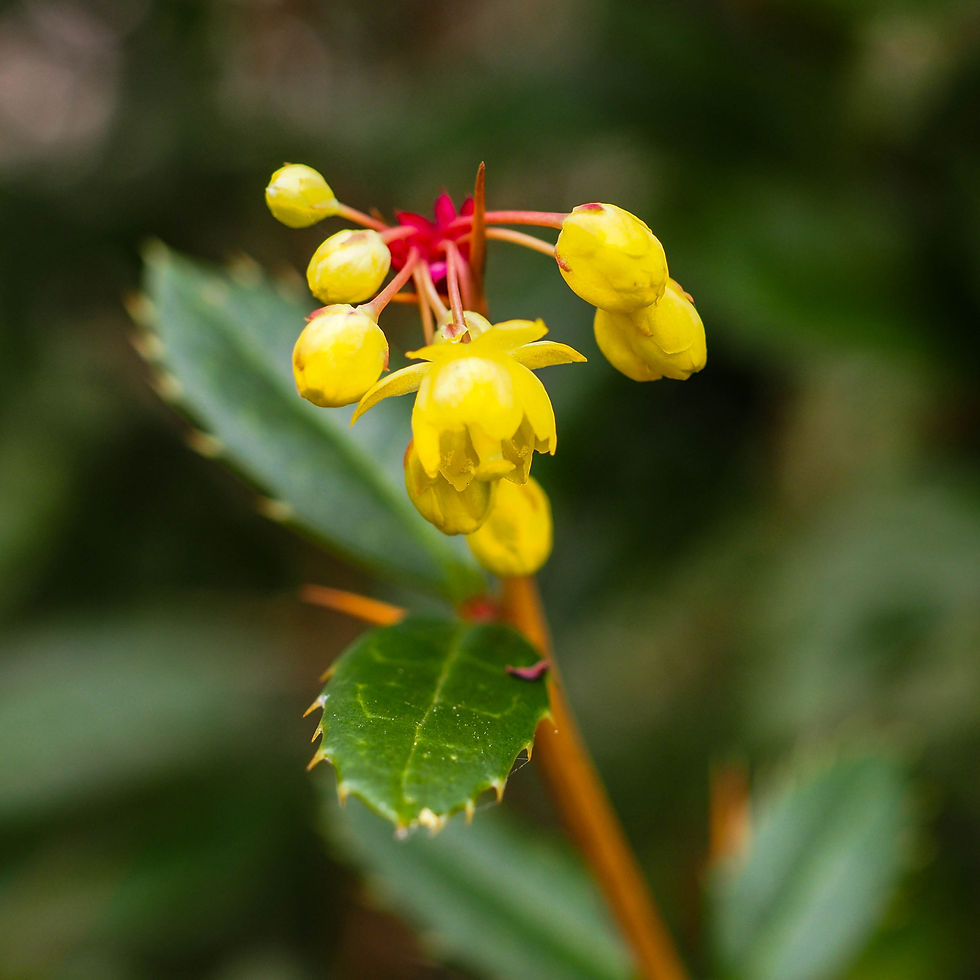
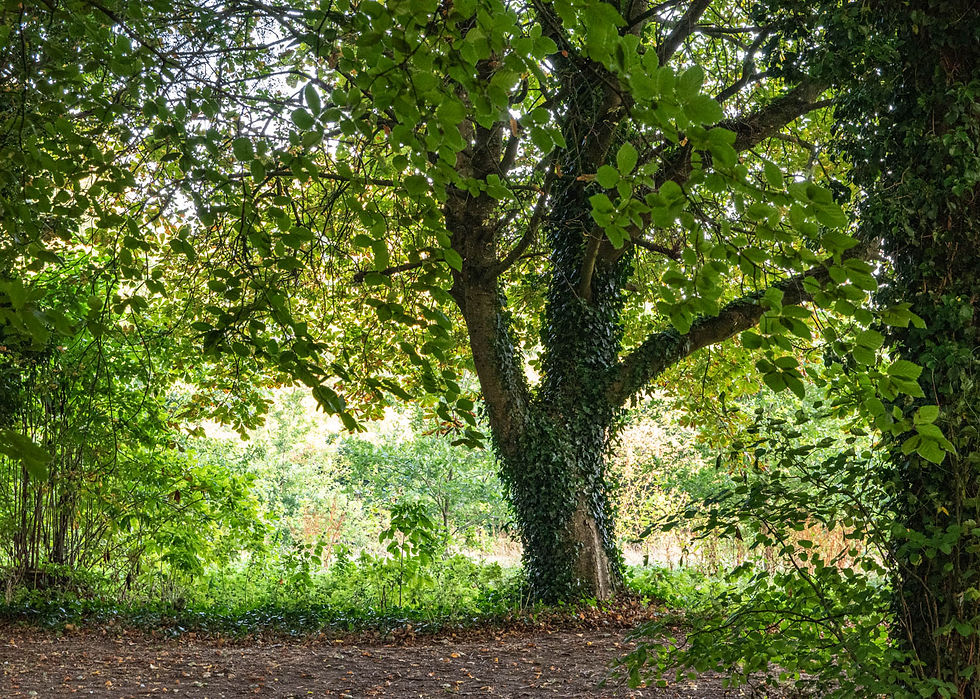
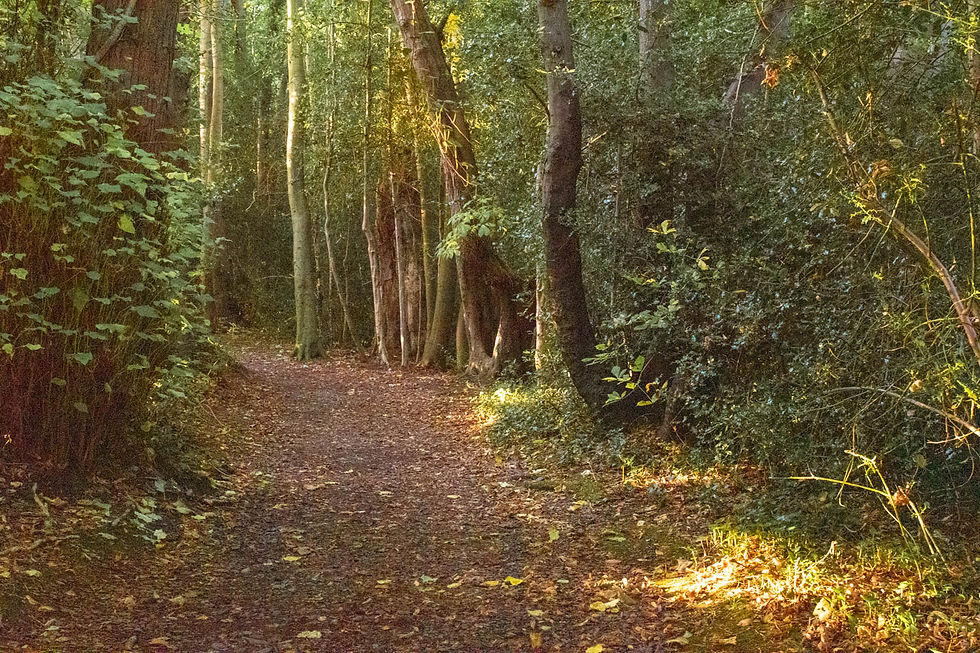
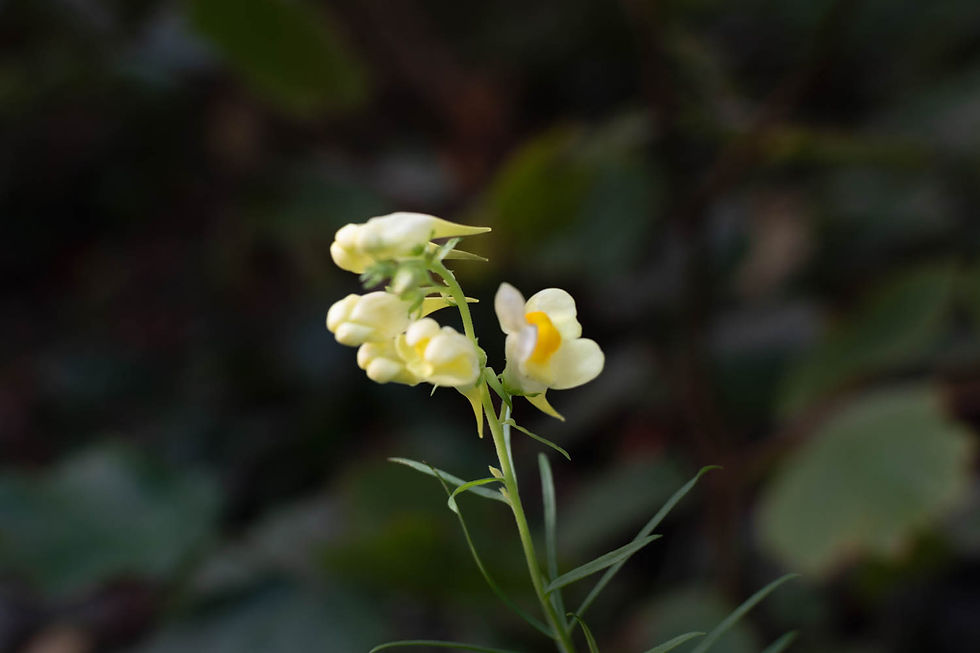
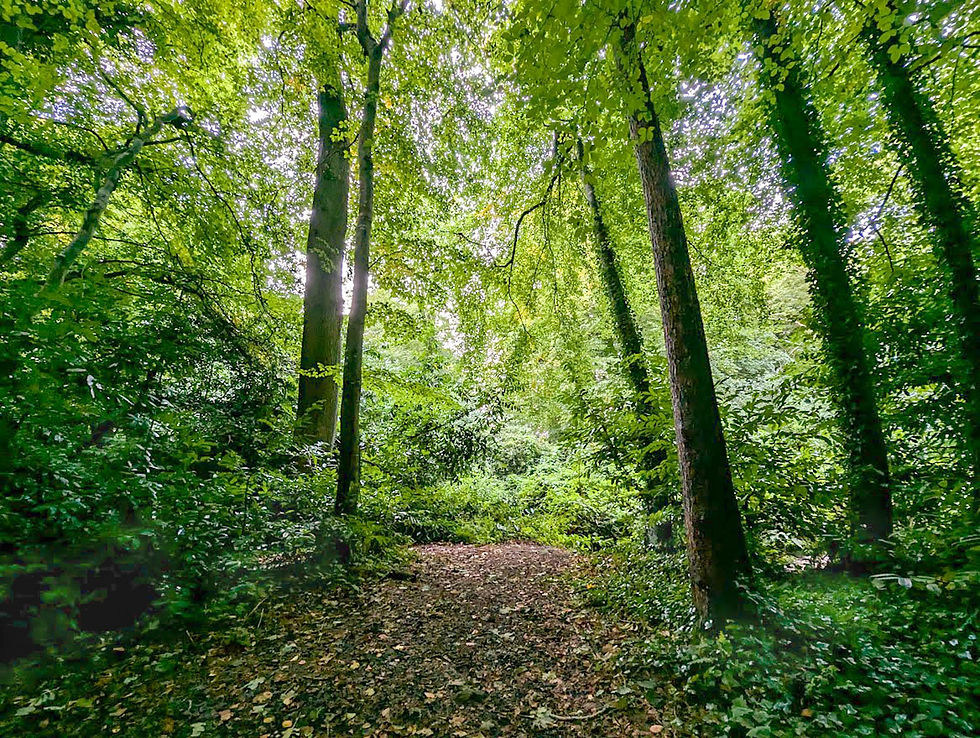
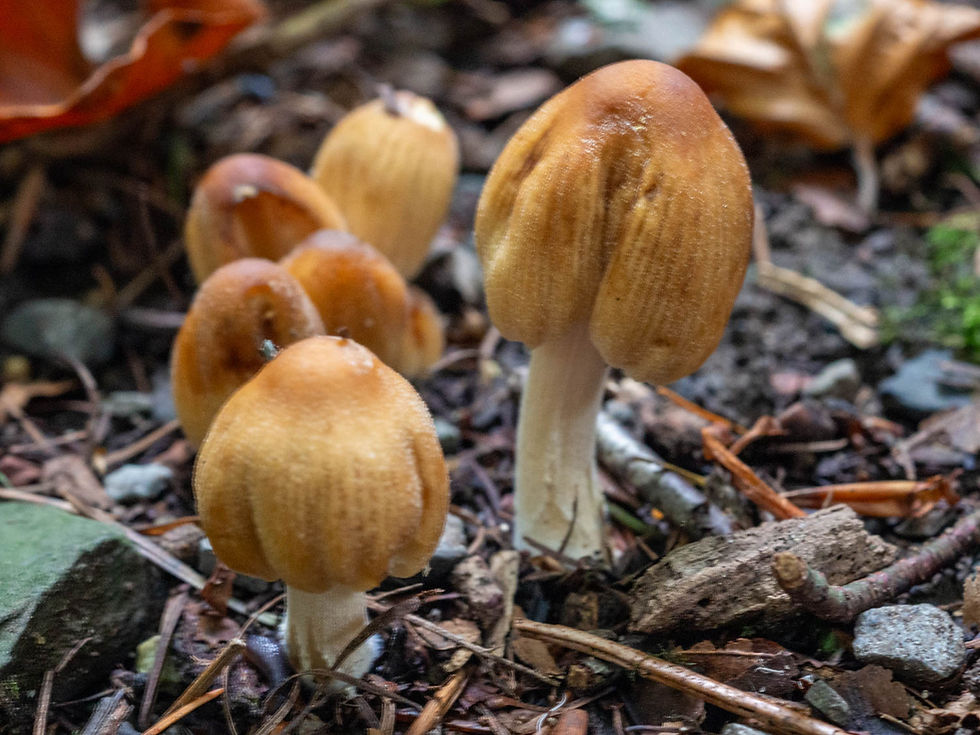
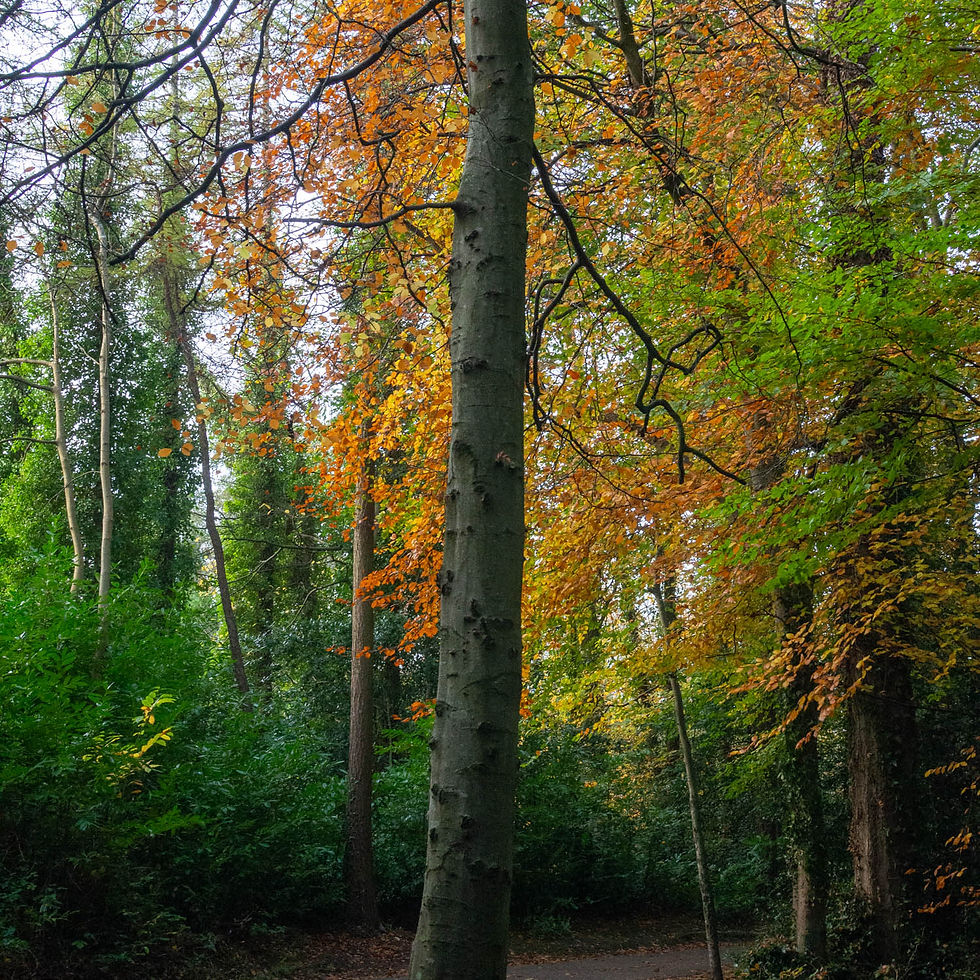
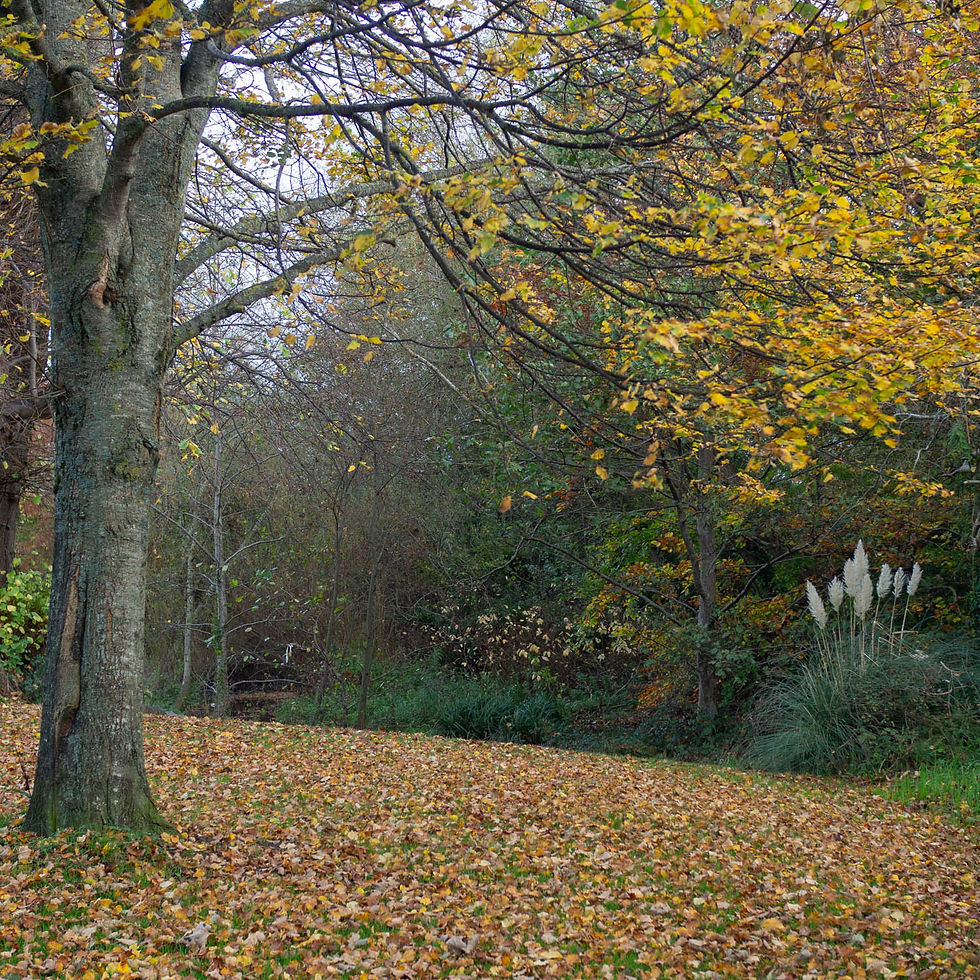
Below are some of my woodland images from different seasons.


Comments